Help RedesIA understand your business better
The more information you give it, the better the content it creates for you.
Steps
The screenshots show RedesIA and the other apps with their interface in Spanish; the steps are the same in English.
- 1
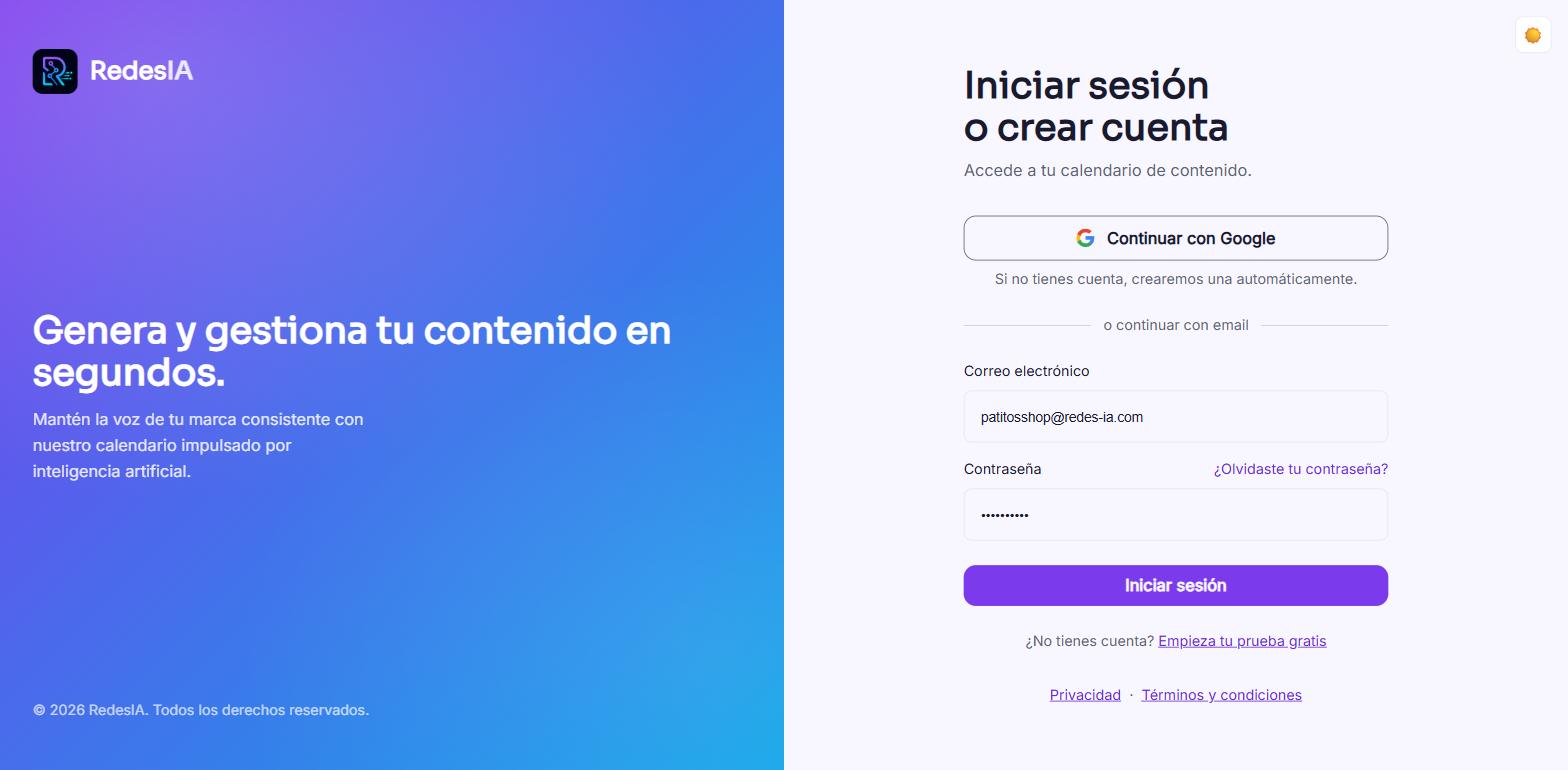
Sign in to RedesIA
With Google or with your email. If you don't have an account, one is created automatically.
- 2
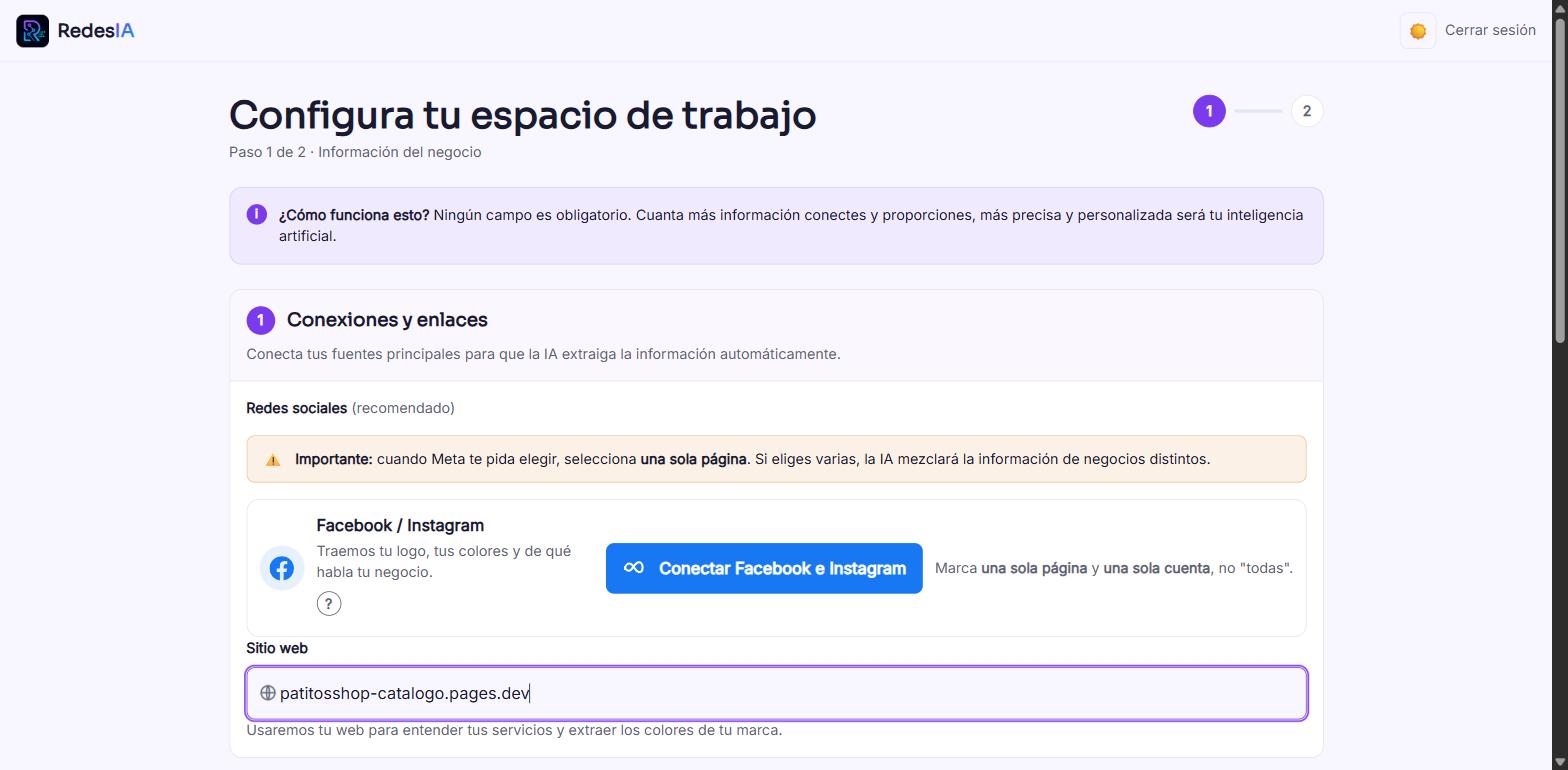
Connect your social networks or your website
Connect Facebook/Instagram (select just one Page, not all of them) or paste your website, and RedesIA pulls out your logo, your colors and what your business is about.
- 3
This signs you in with your personal Facebook account
Connecting Facebook/Instagram always goes through your personal account. There's no other way, because Meta requires it. If you've connected RedesIA before, it asks whether you want to continue with that same setup.
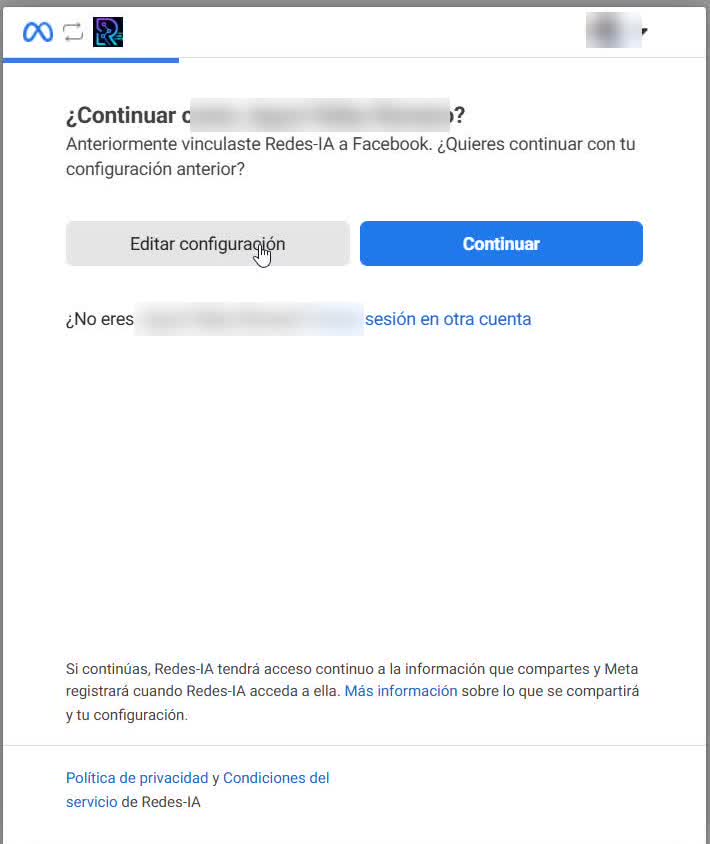 If it's your first time, or if you want to choose a different Page than last time, click "Edit settings" instead of "Continue".
 - 4
Choose only your business's Page
If your personal account has several Pages or clients linked to it, you'll see them all together here. Select only your business's Page, and never the option to select all of them.
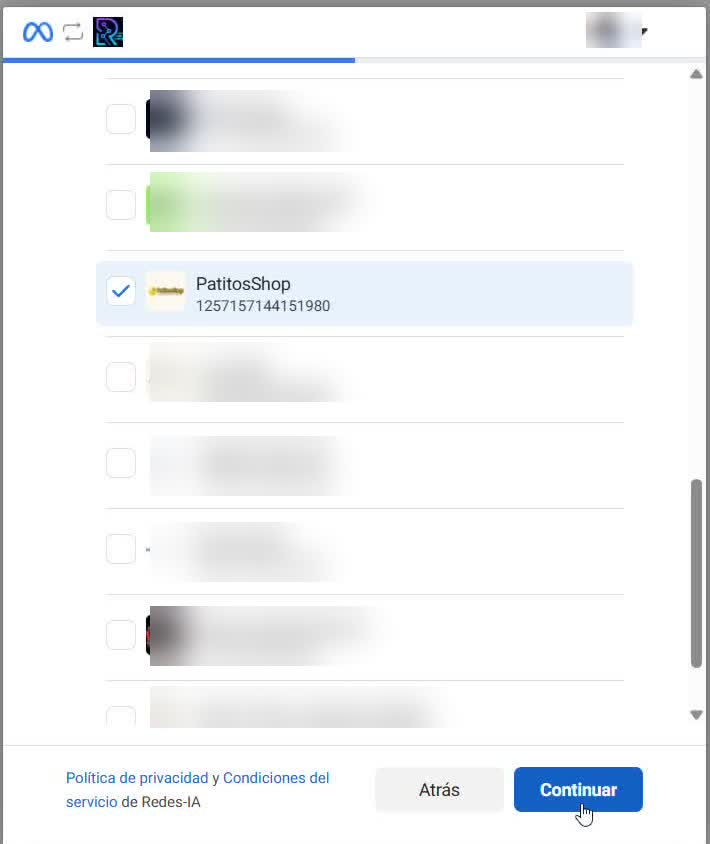 If you select several, RedesIA will mix up information from different businesses.
 - 5
Confirm access to Facebook and Instagram
Meta shows you a summary: access to the Page you chose and, automatically, to the Instagram account connected to that Page. You don't have to choose Instagram separately, since it's included.
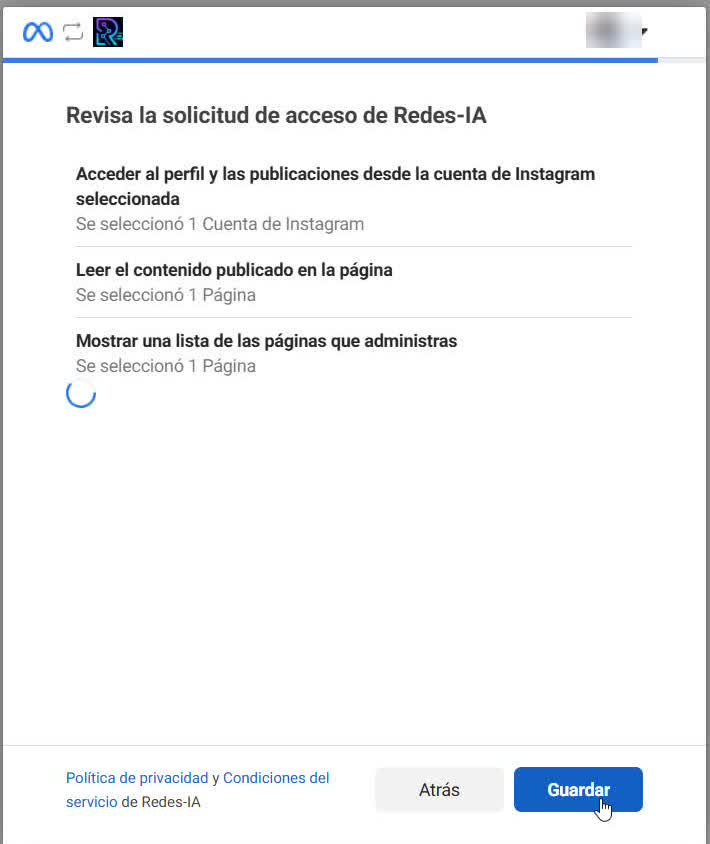 If it says one Instagram account is selected, everything is connected.
 - 6
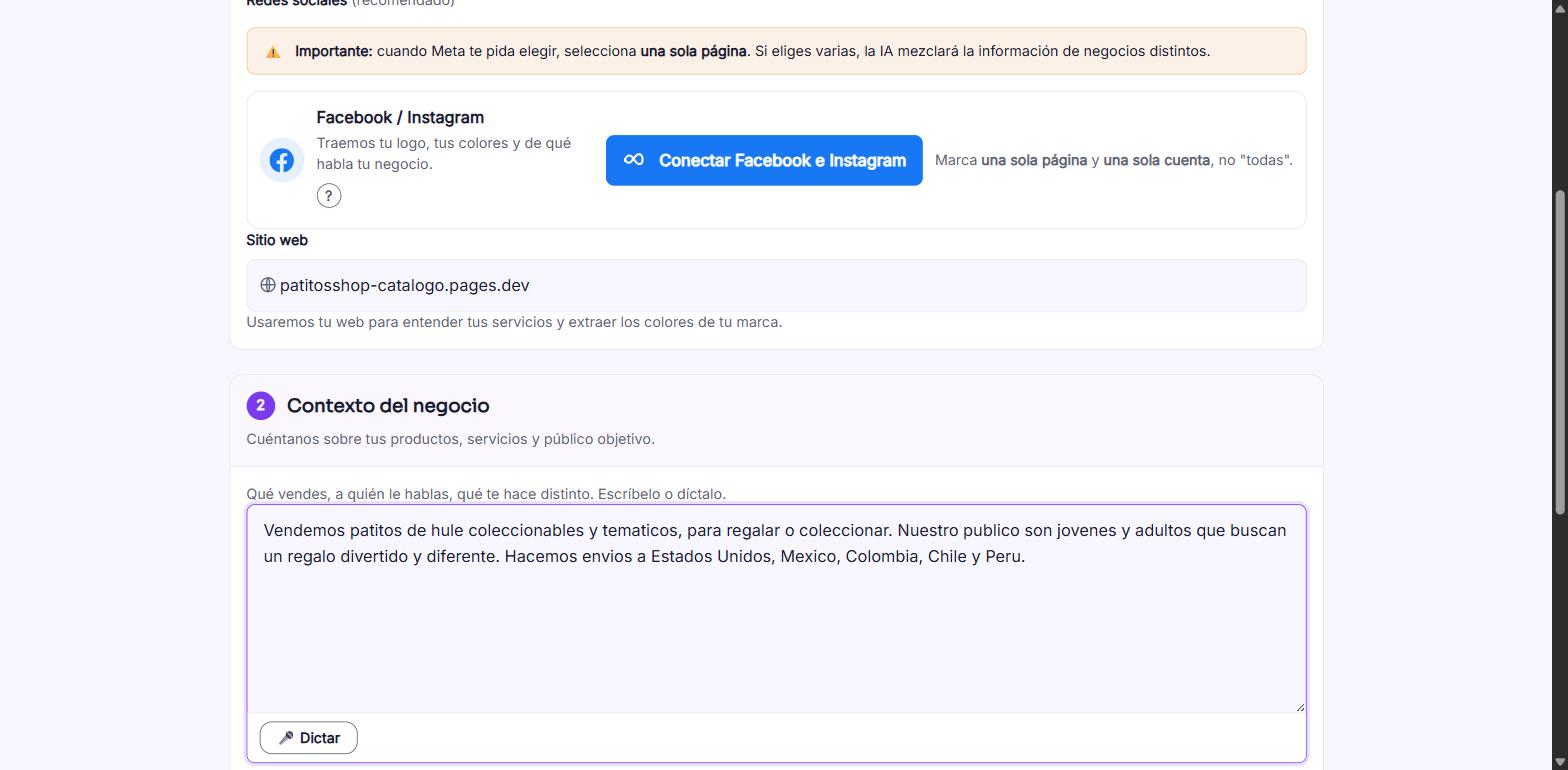
Tell it about your business
What you sell, who you talk to, what makes you different. Type it or dictate it. No field is required, but the more you give, the more accurate your brand comes out.
- 7
Add target countries and upload materials
The countries are used for the holidays on your calendar. Upload photos of your products or your logo so the AI can use them in your posts.
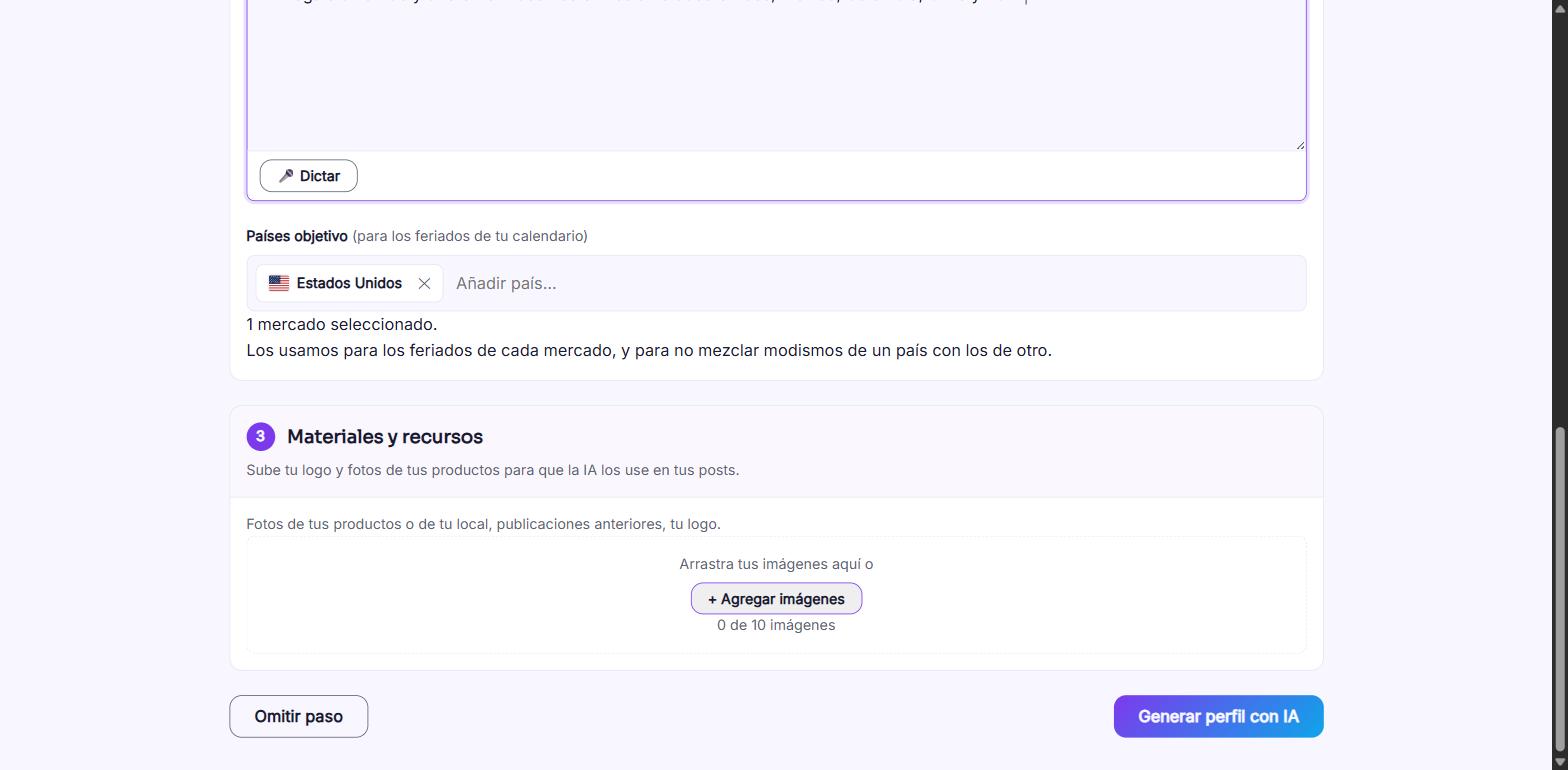 You can also click "Skip" if you'd rather finish this later.
 - 8
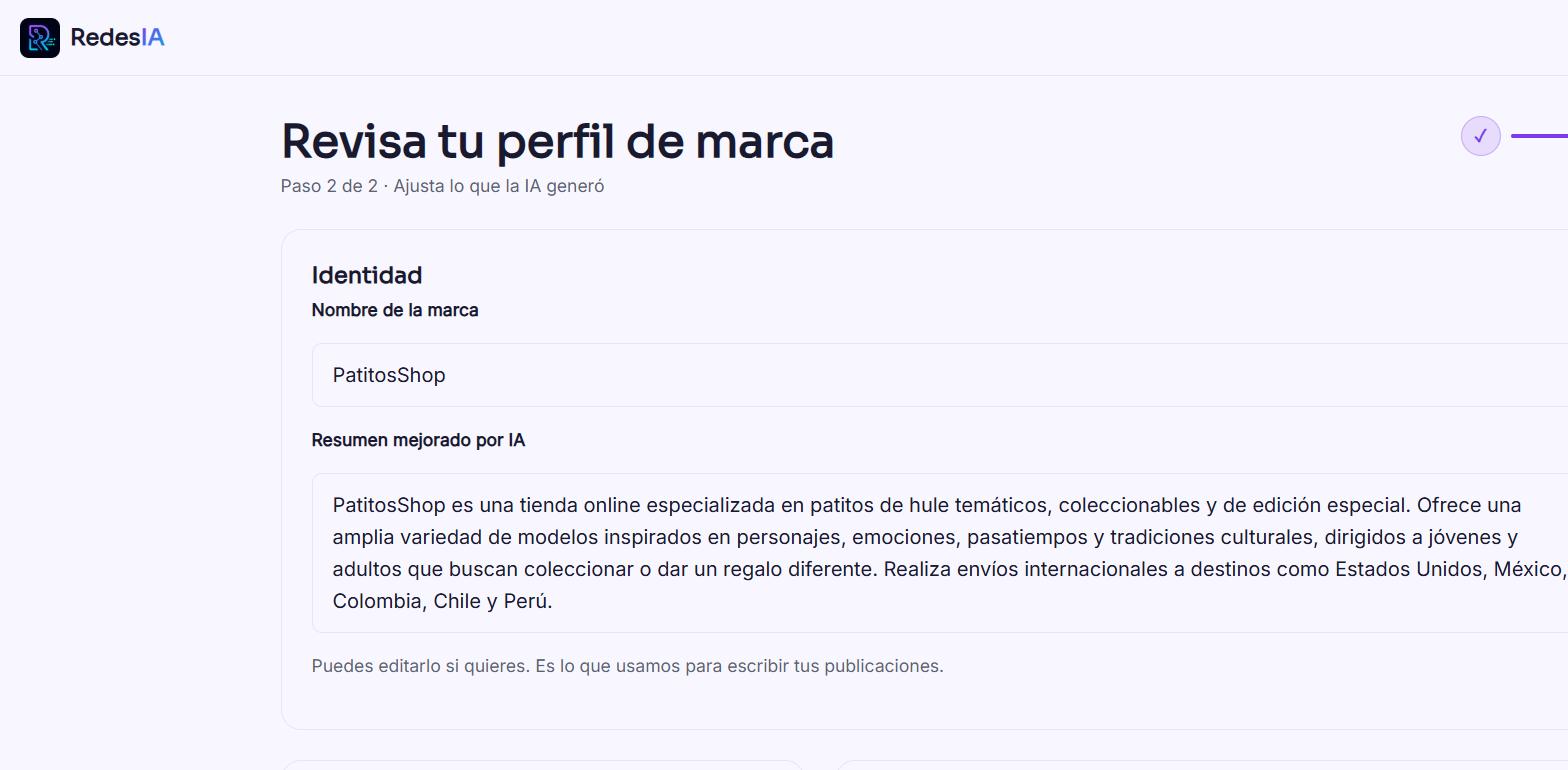
RedesIA creates your brand profile
In seconds it puts together an AI-enhanced summary of your business, and you can edit it if something doesn't fit.
- 9
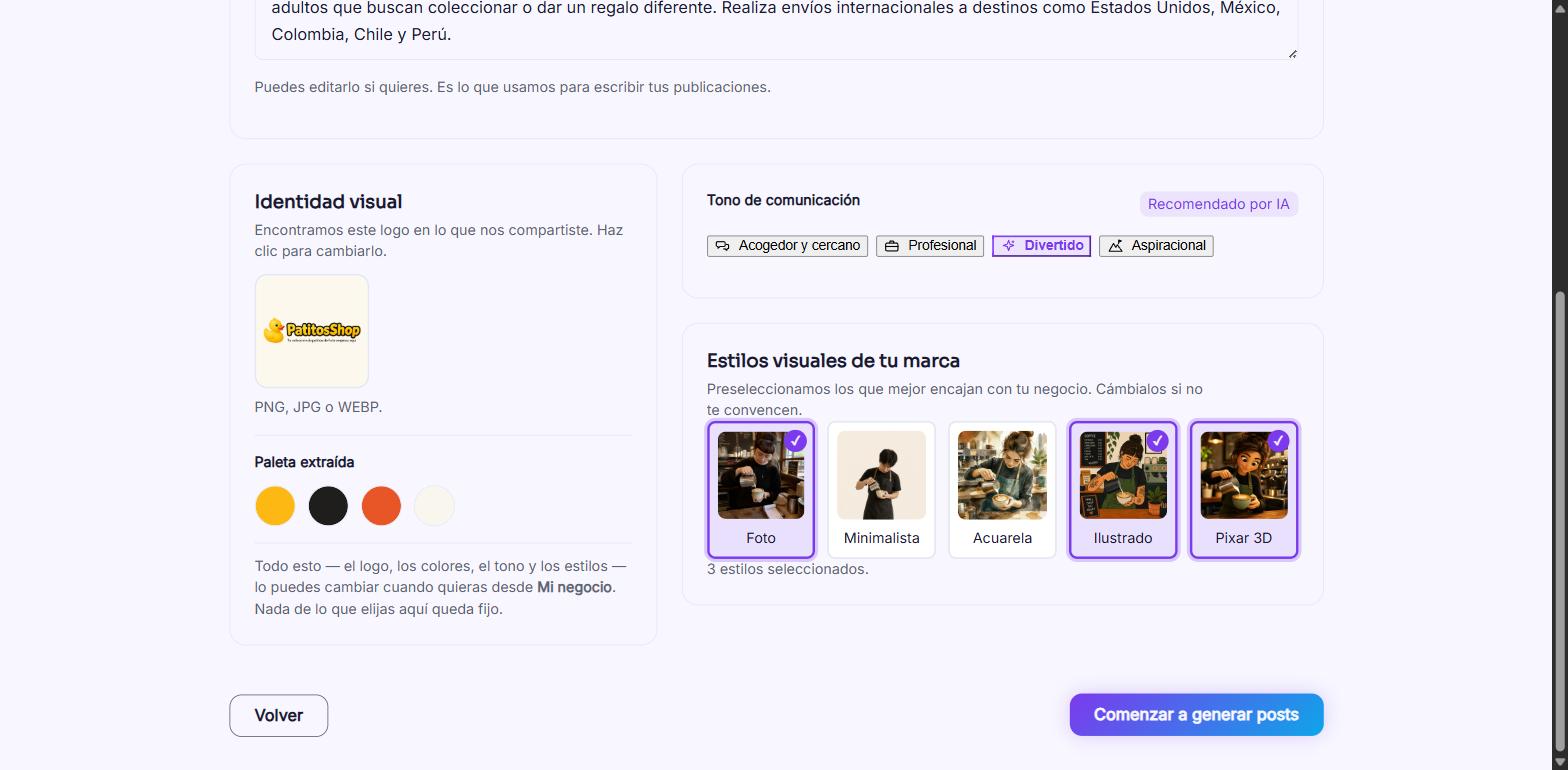
Adjust your visual identity and you're done
Logo, extracted color palette, tone of voice and visual styles: you can change all of it whenever you want from "My business". Click "Start generating posts" to finish.
- 10
And you've reached your calendar
With your brand ready, you land right on your calendar. From there you generate ideas for the month and start creating your posts.