Get to know RedesIA from the inside
A complete tour of RedesIA: Business, Resources, Posts, Settings, your plan, credits and referrals — everything the system has, section by section.
Steps
The screenshots show RedesIA and the other apps with their interface in Spanish; the steps are the same in English.
- 1
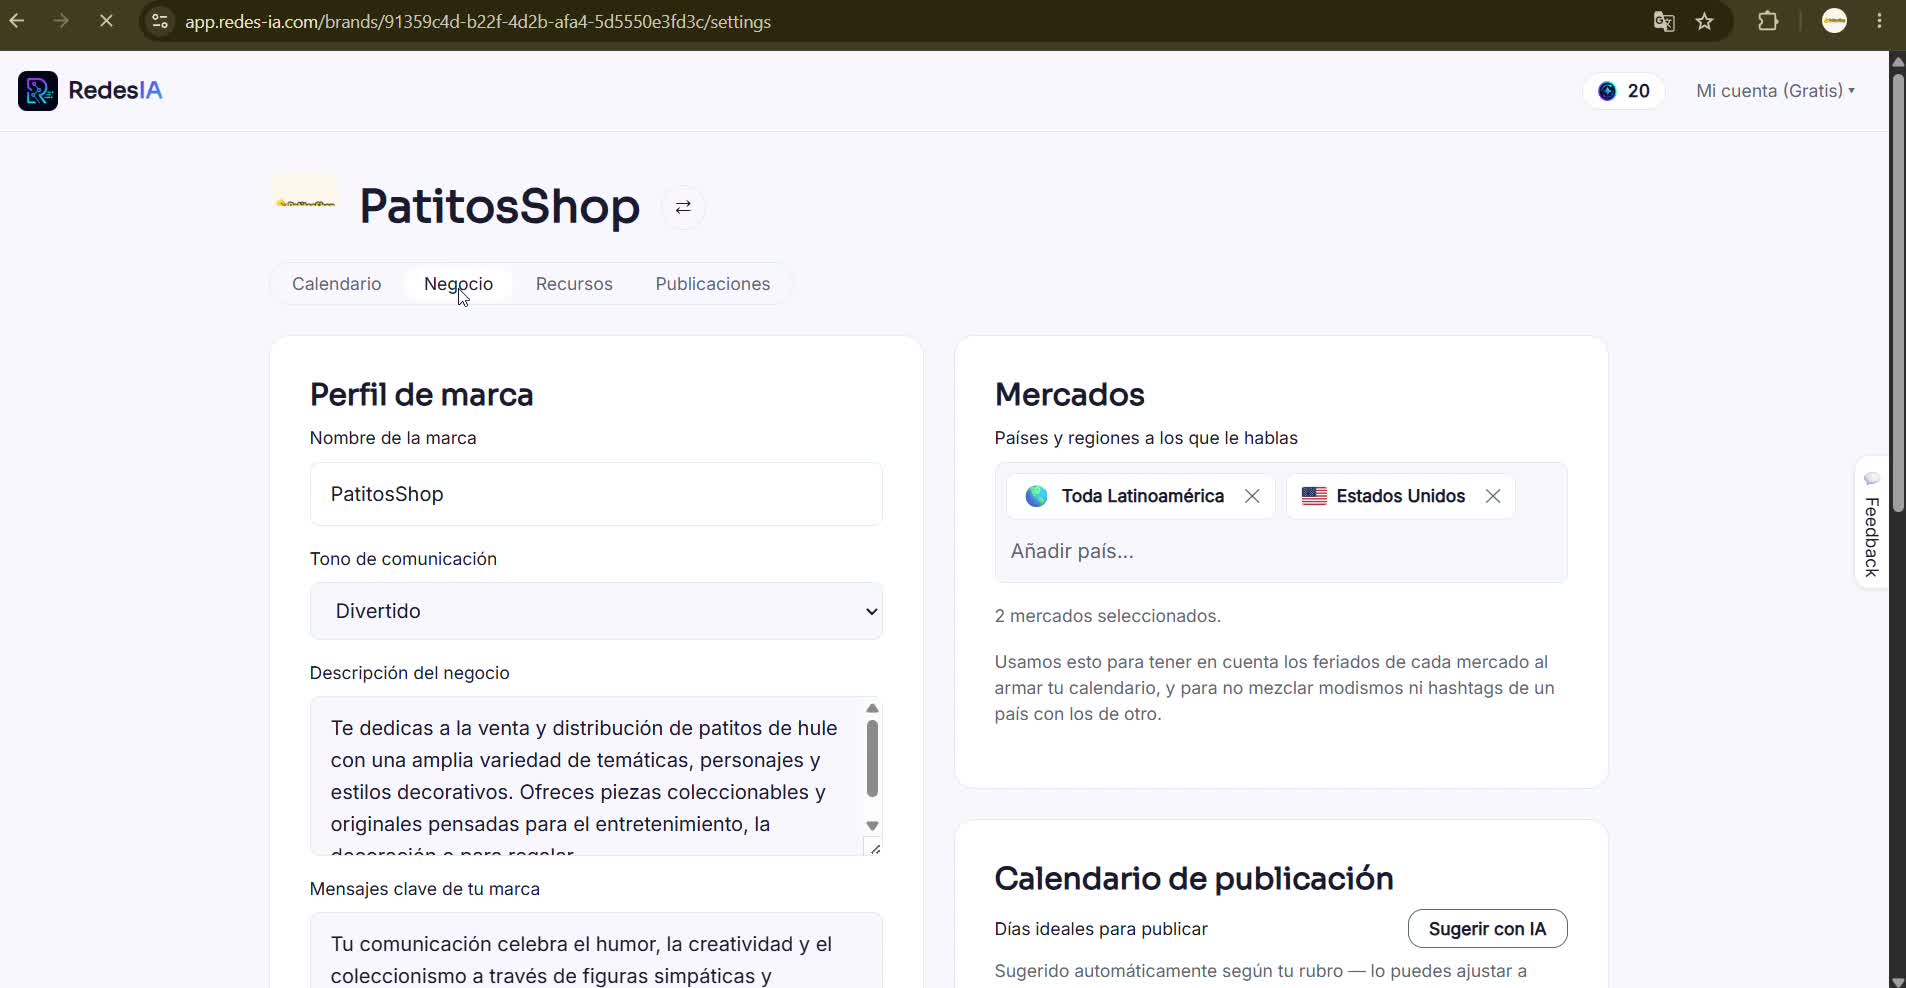
Business: your brand profile and your markets
In Business you see and edit your brand's name, tone of voice, description and key messages — what RedesIA uses to write in your voice. Also the countries you speak to, so it can take their holidays into account and not mix slang between markets.
- 2
Your footer, and the recommended days and times
The footer is the signature RedesIA adds at the end of your post text (for example, your WhatsApp or your website) — it's worth reviewing from the start. Right below, RedesIA also automatically suggests the days and times when your niche has the most activity, based on your time zone — you can adjust them. And if you ever no longer need it, you can also delete the business entirely from here.
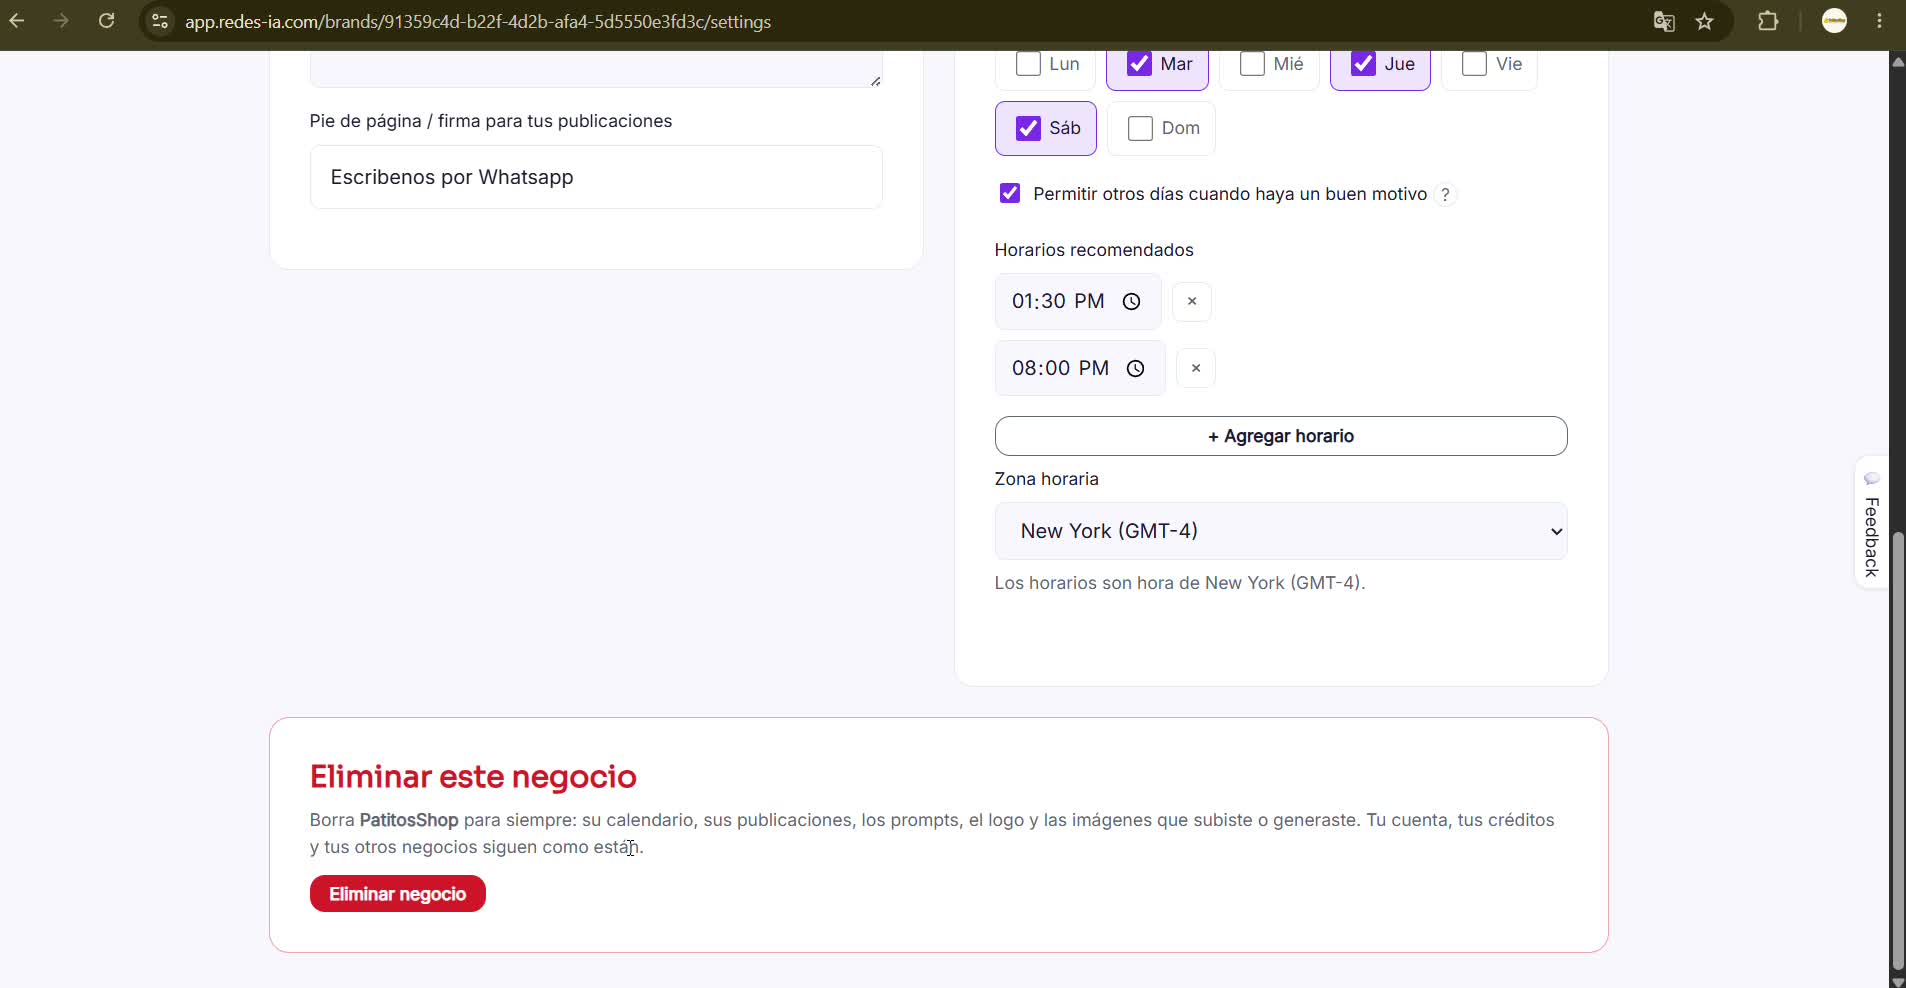 Deleting a business deletes its calendar, posts, prompts, logo and generated images — your account and your other businesses are not affected.
 - 3
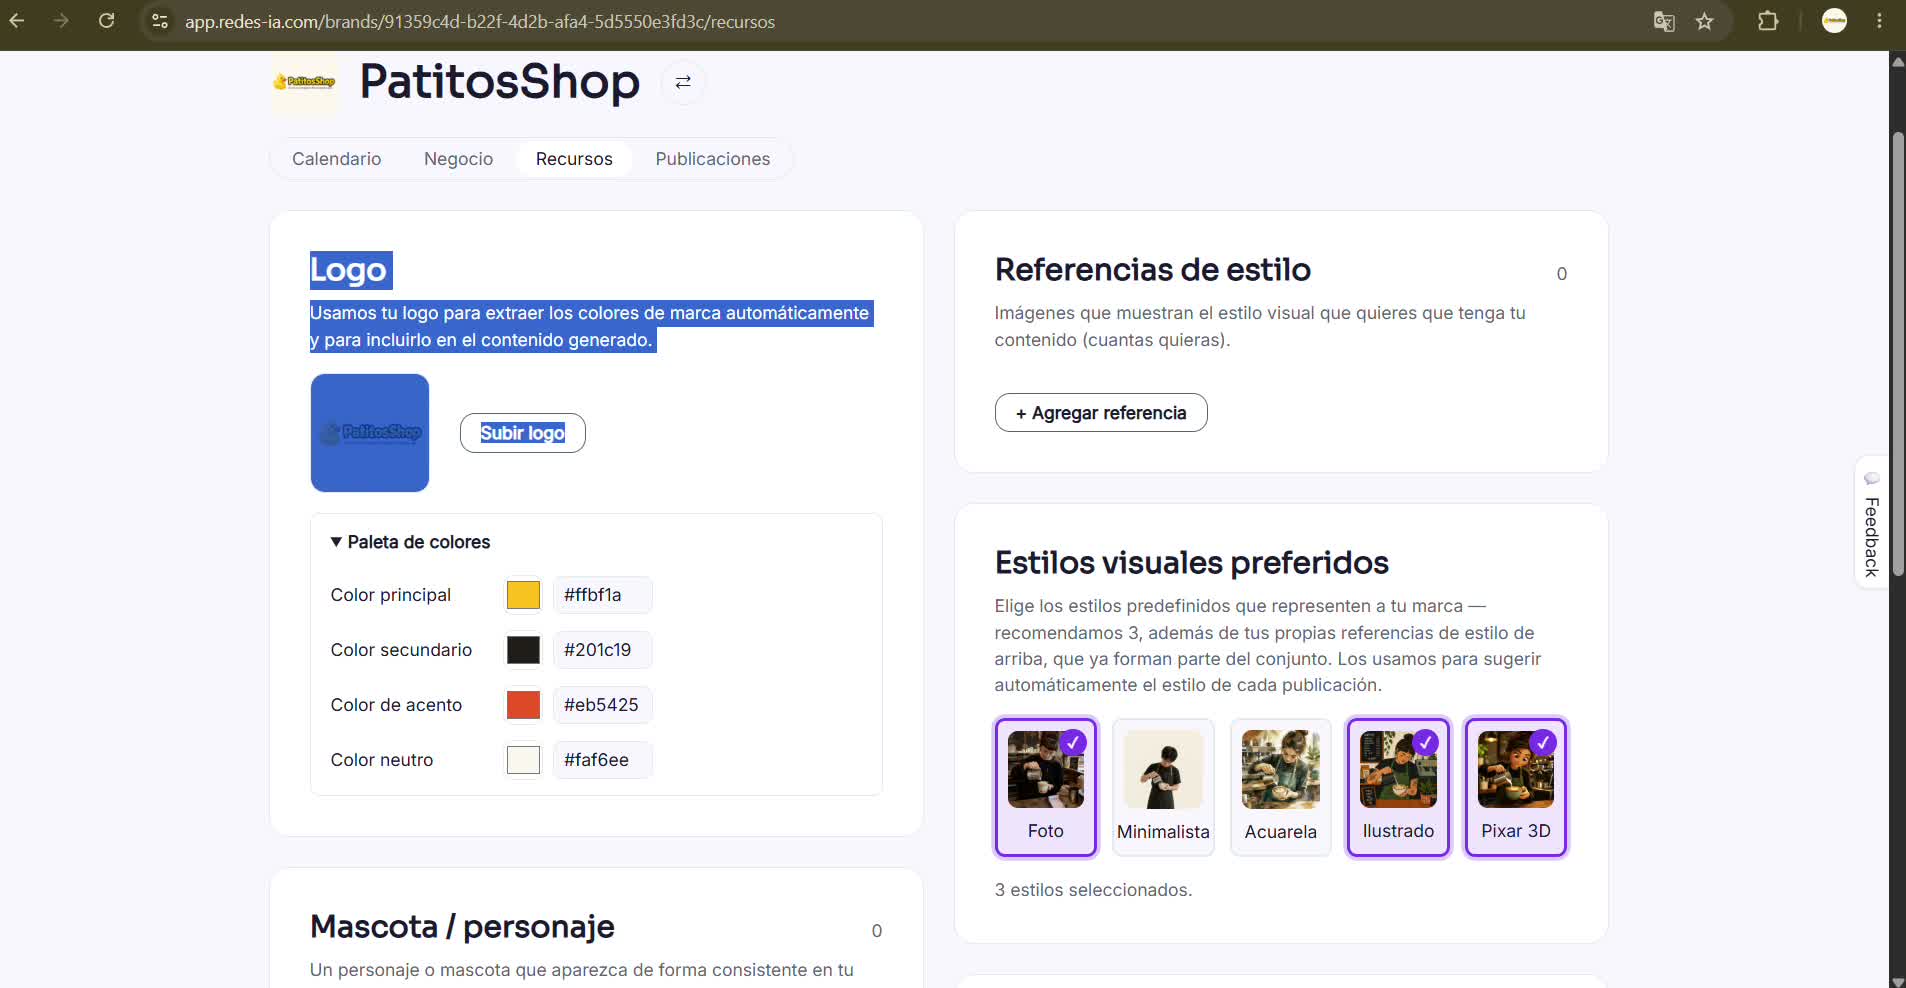
Resources: your logo and your color palette
In Resources you see the logo you uploaded and the color palette RedesIA automatically extracted from it — it uses it in all the content it generates.
- 4
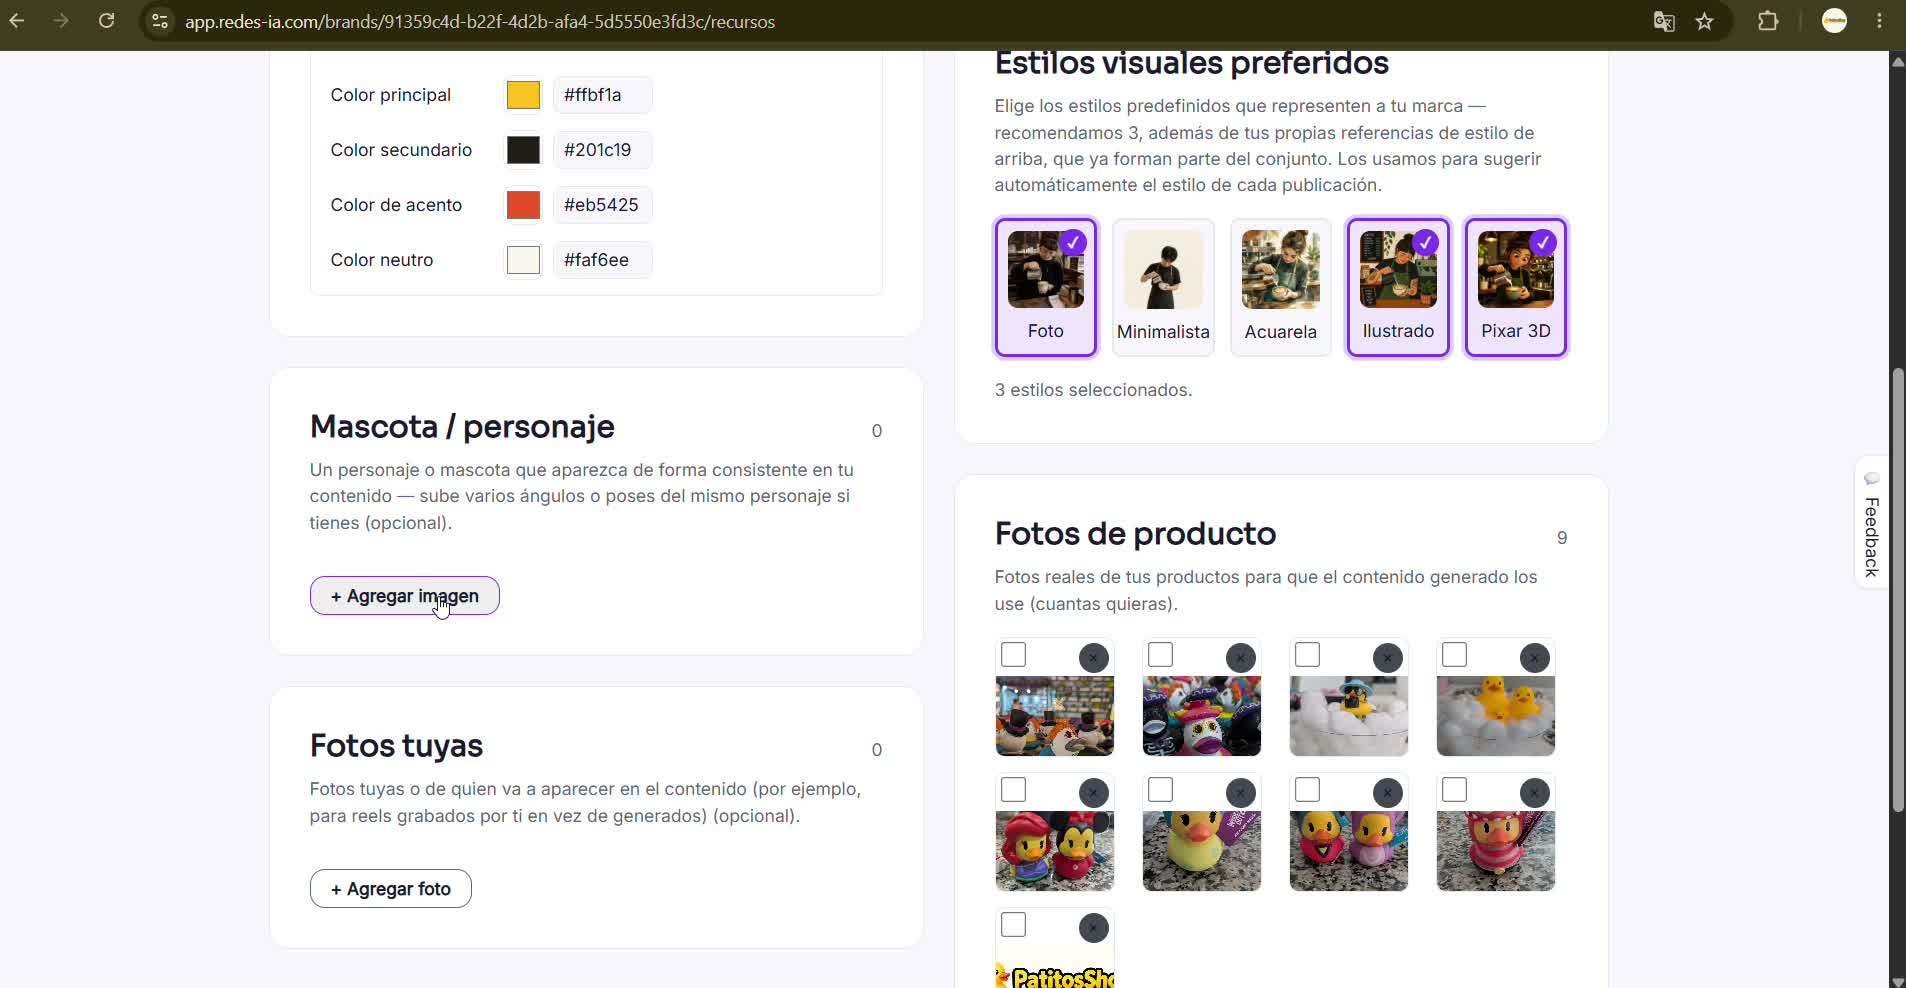
Mascot, photos of you, styles and products
Upload a character or mascot that always appears in your content, photos of you for reels you film yourself instead of generating, choose your brand's visual styles, and upload real photos of your products so the generated content uses them.
- 5
What it already brought in from your networks, and your used space
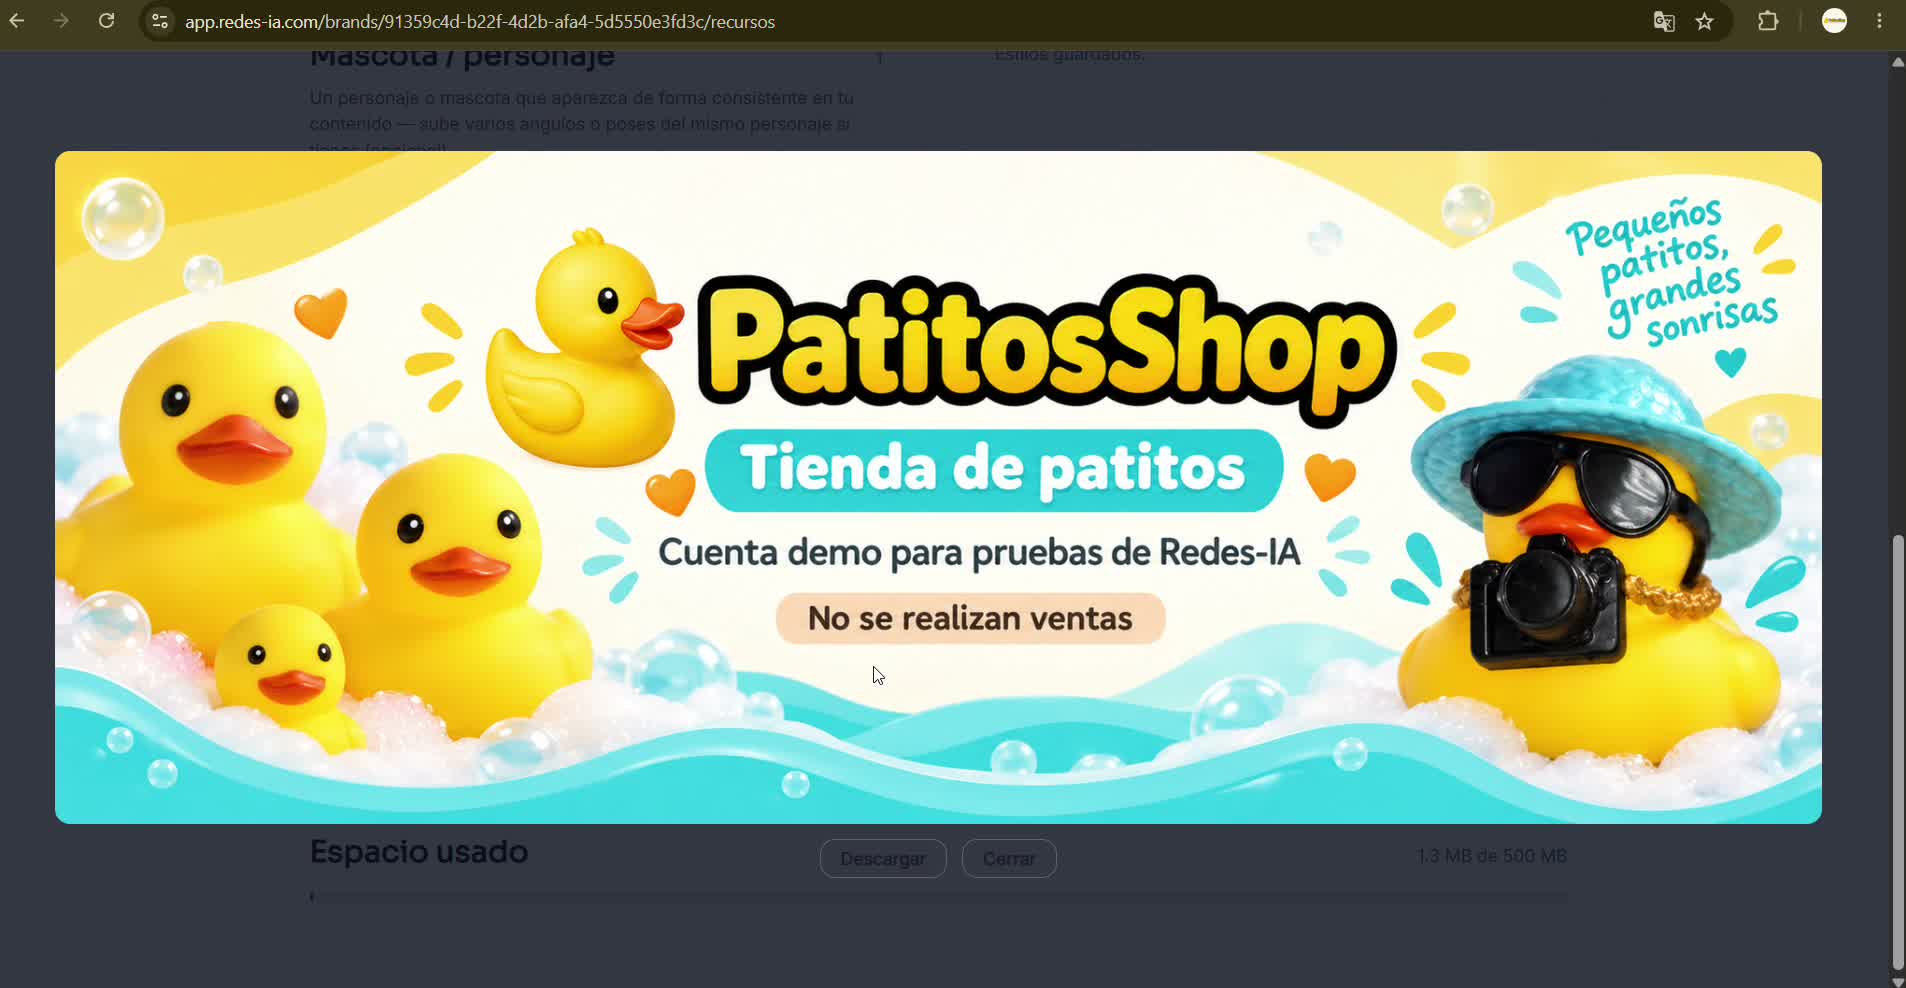
If you connected Facebook or Instagram, RedesIA automatically imports resources like your cover photo — they're available here. You also see how much storage space you've used.
- 6
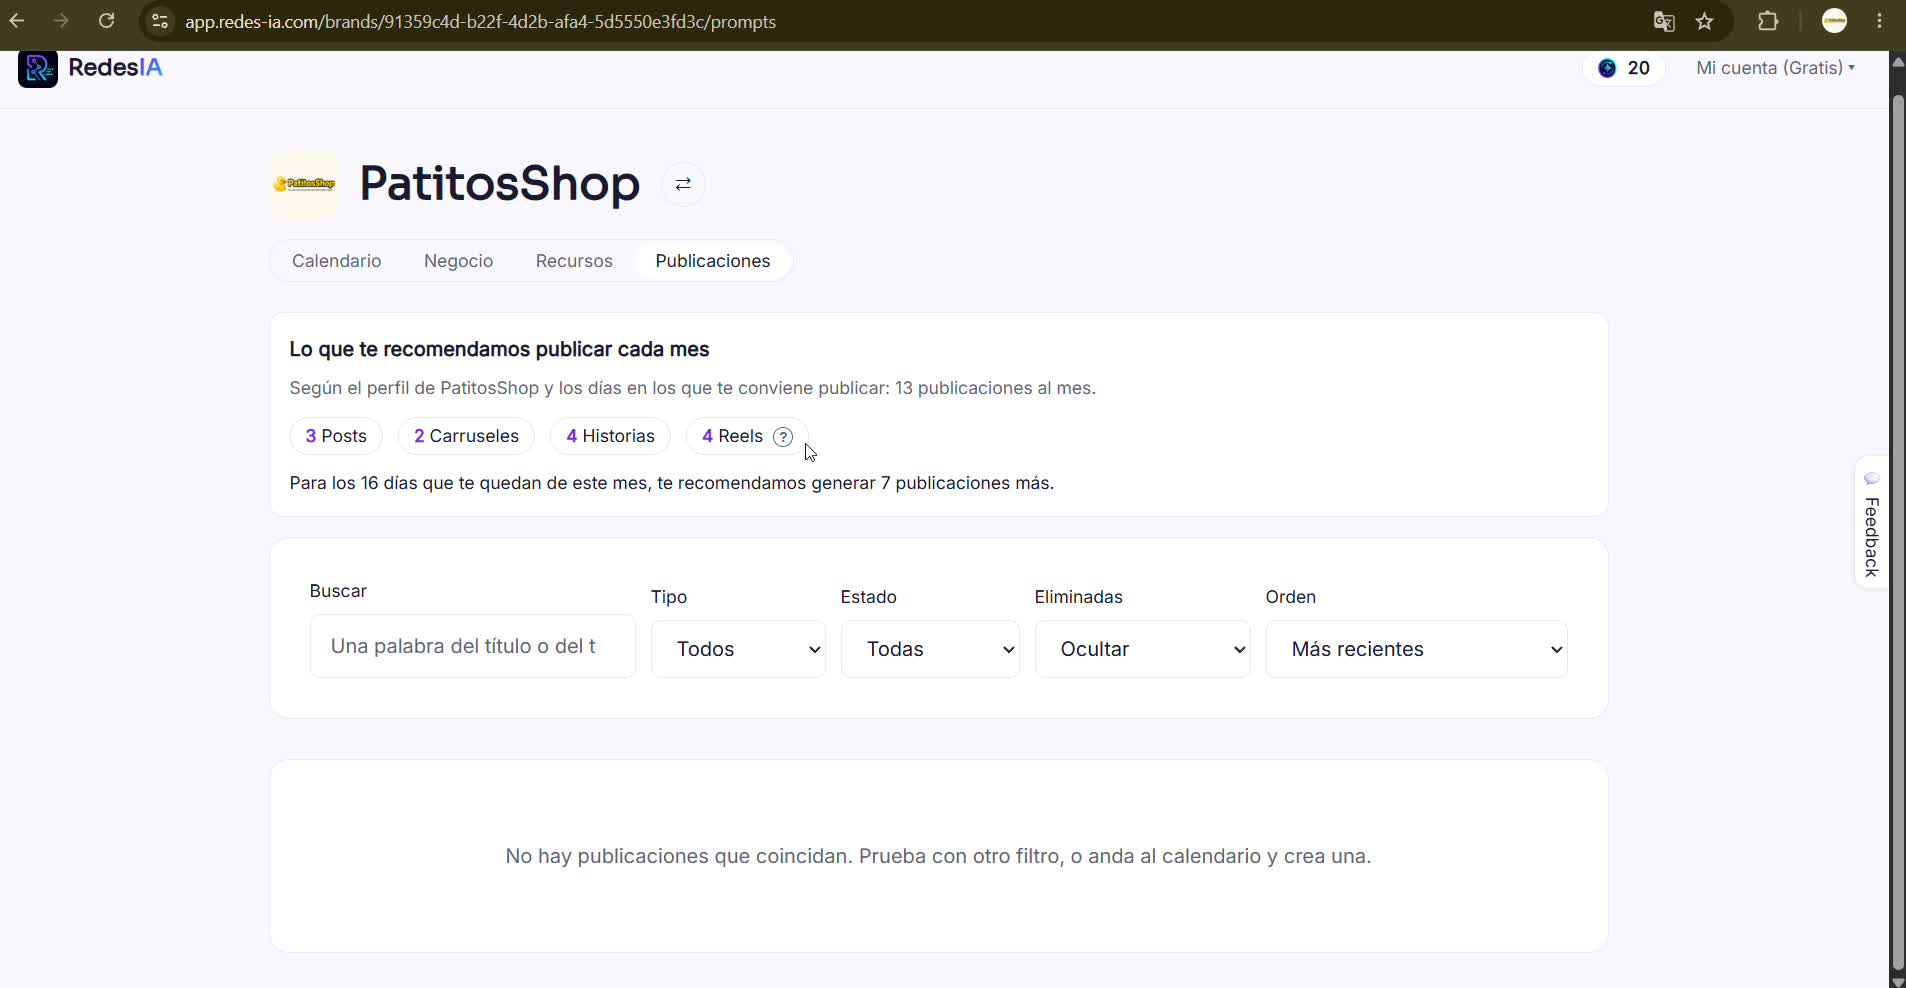
Posts: control of everything you've put together
Here you keep track of all the posts you generate, with filters by type, status and date. It also tells you how much we recommend you publish each month based on your profile.
- 7
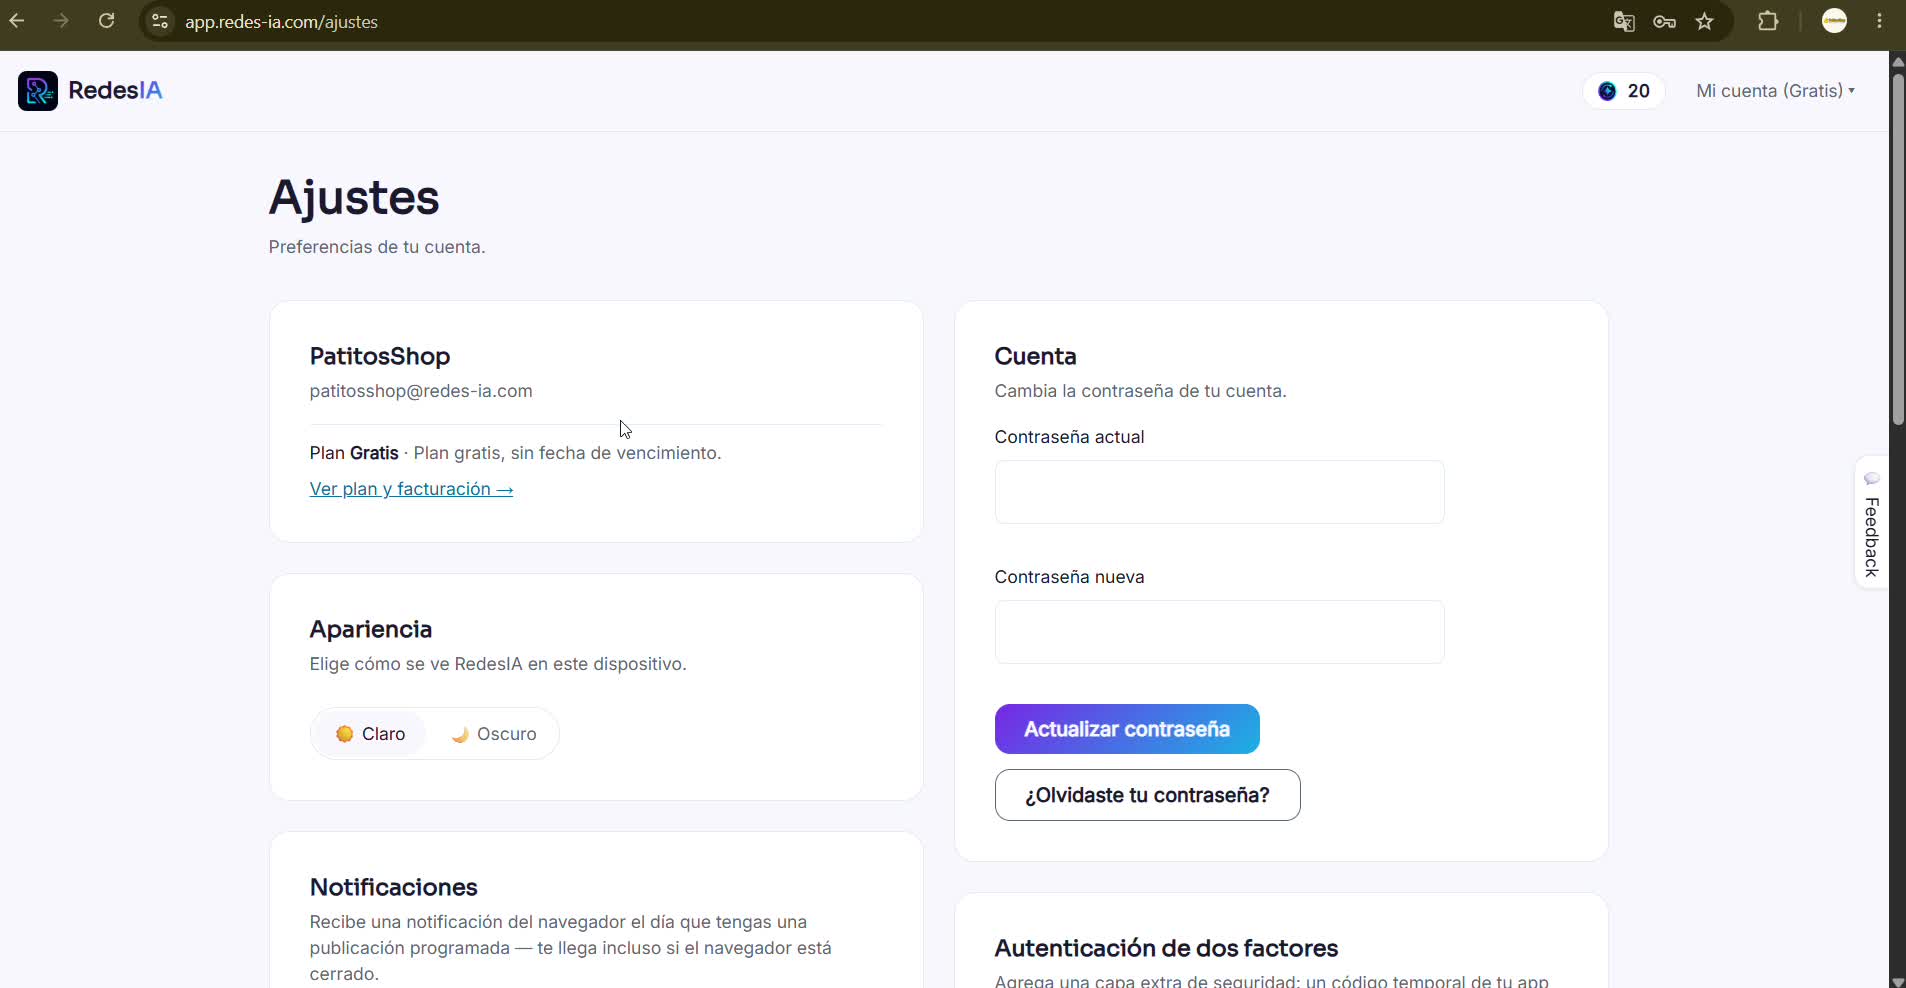
Your account settings
Change your password, turn on dark mode, set up notifications and email preferences, and turn on two-factor authentication — all from here.
- 8
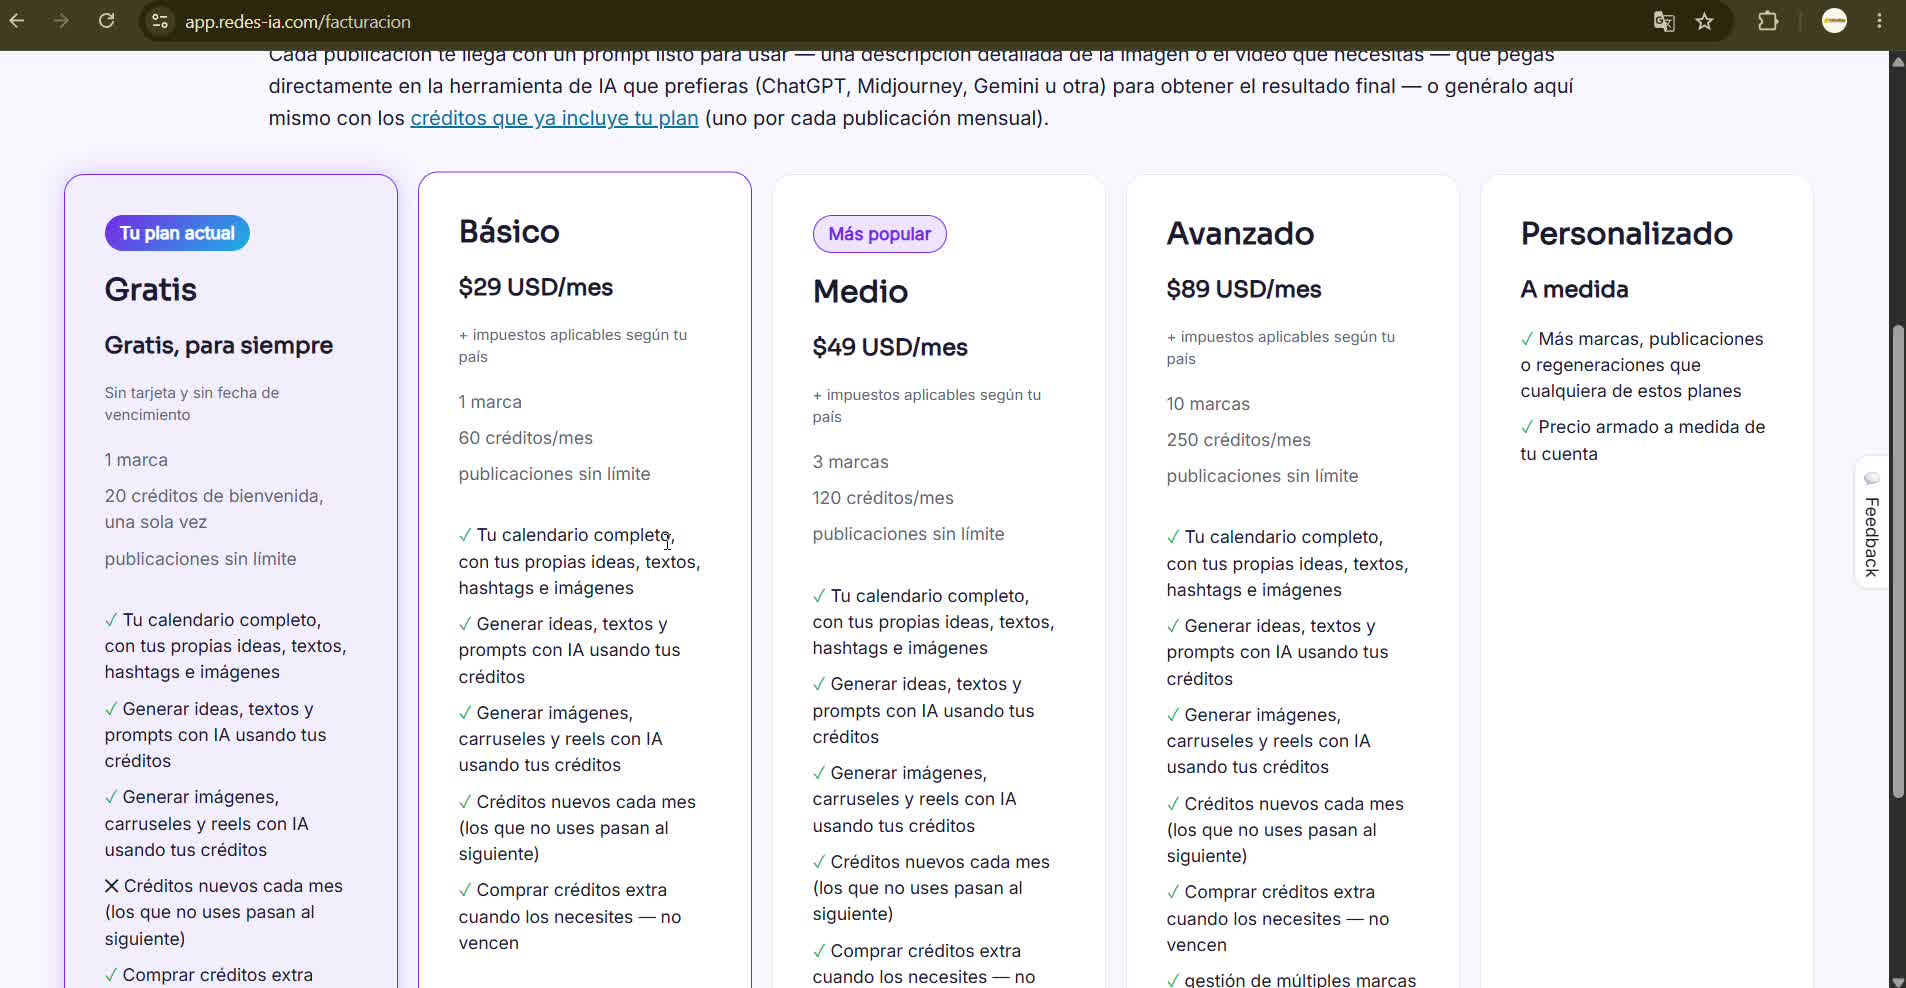
Your plan and billing
See what your current plan includes and compare it with the other available plans if you want more brands, credits or posts.
- 9
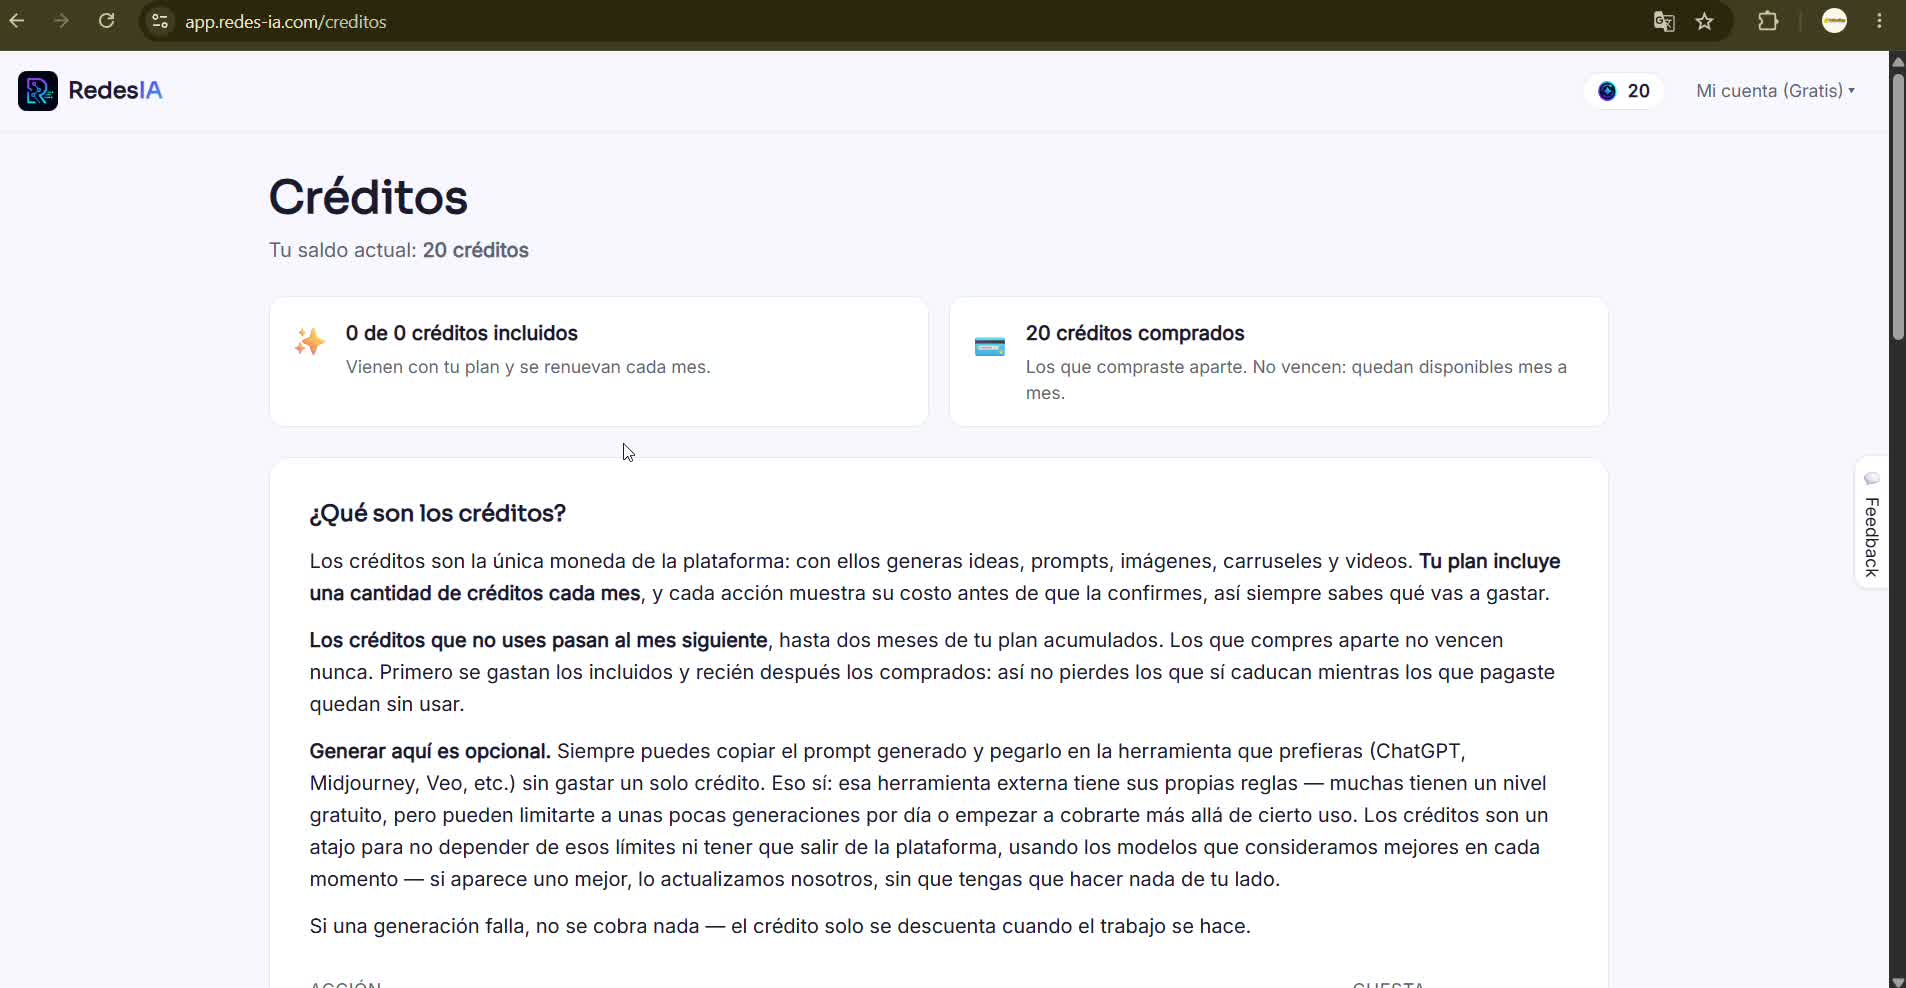
Your credits
Credits are the currency of the platform: you use them to generate ideas, prompts, images, carousels and videos. Here you see your balance and can buy more if you need them.
- 10
Referrals and support
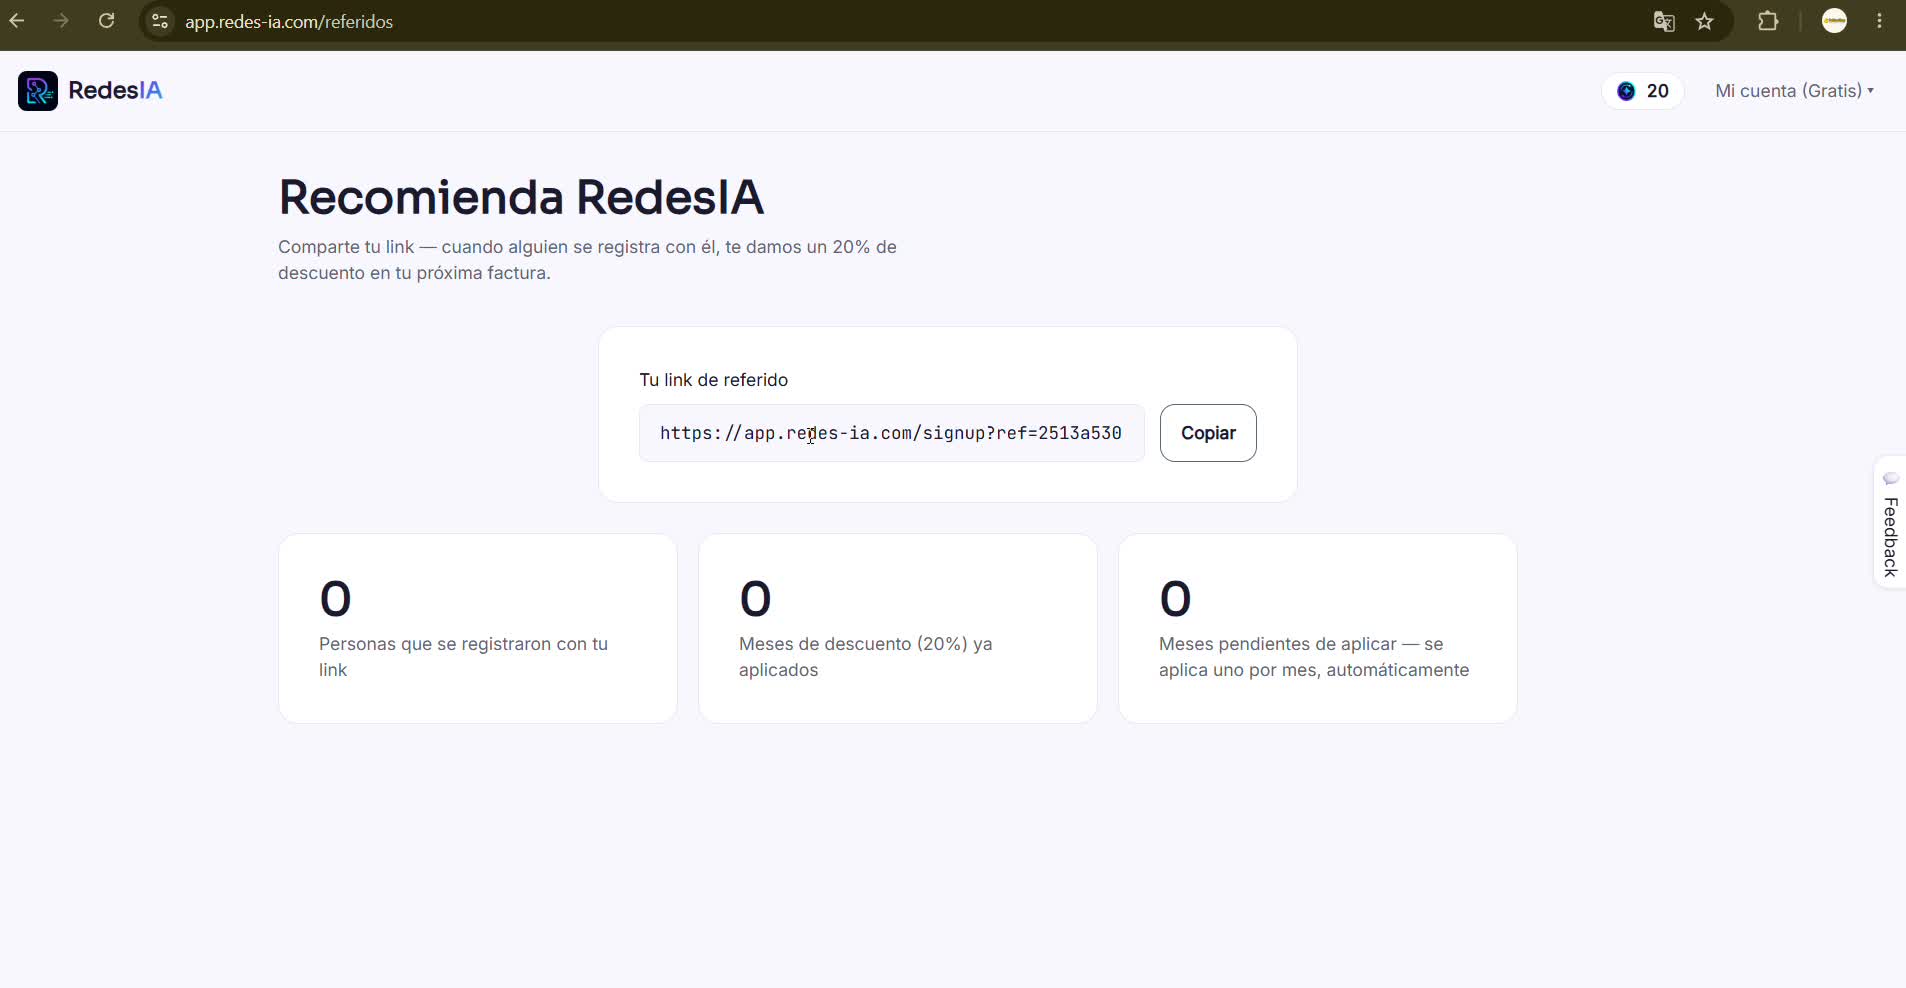
Share your referral link and get a 20% discount when someone signs up with it. If something doesn't work out for you, you can write to support on WhatsApp or by email.